
Cloudflare Tunnel for Shopify App Development
安装 Cloudflare Tunnel
brew install cloudflared && sudo cloudflared service install eyJhIjoiMmNiMmIxN...登录验证
cloudflared tunnel login列出本地的隧道
cloudflared tunnel list本地创建一个隧道并未其命名
# 通过 cli 在本地创建一个 tunnel
cloudflared tunnel create <NAME>
# 创建完成会出现以下提示,会在目录下创建一个配置文件
# Tunnel credentials written to /Users/[YOUR_USERNAME]/.cloudflared/86cb2856-15e9-4311-9c45-5e2f318d193a.json. cloudflared chose this file based on where your origin certificate was found. Keep this file secret. To revoke these credentials, delete the tunnel.
本地创建配置文件
如果你是在本地创建 Tunnel,需要在本地目录 .cloudflared 下添加配置文件 config.yml:
tunnel: 86cb2856-15e9-4311-9c45-5e2f318d193a
credentials-file: /Users/[YOUR_USERNAME]/.cloudflared/86cb2856-15e9-4311-9c45-5e2f318d193a.json

ingress:
  - hostname: shopify-test.[YOUR_DOMAIN].cc
    service: http://localhost:5500
    service: http://localhost:4000
  - service: http_status:404
启动 Tunnel
cloudflared tunnel run demo修改 Shopify 应用代理配置
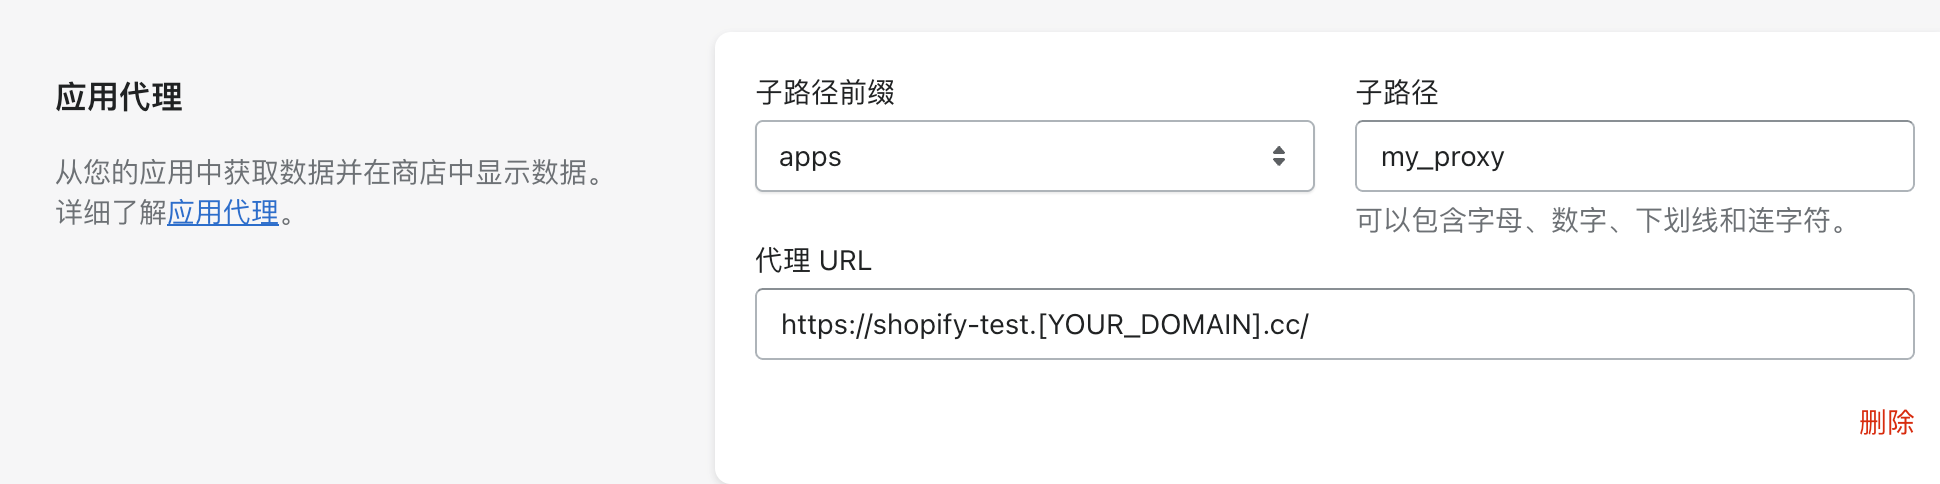
⚠️ 这里有个坑一定要注意,我发现配置完之后无论在商店怎么发起请求,都会 404。最后发现应该是第一次安装应用的时候,跟在商家应用和销售渠道管理这里显示的代理 URL 不一致。在 Partner 后台应用配置修改,并不会同步修改商家后台的代理配置。
